
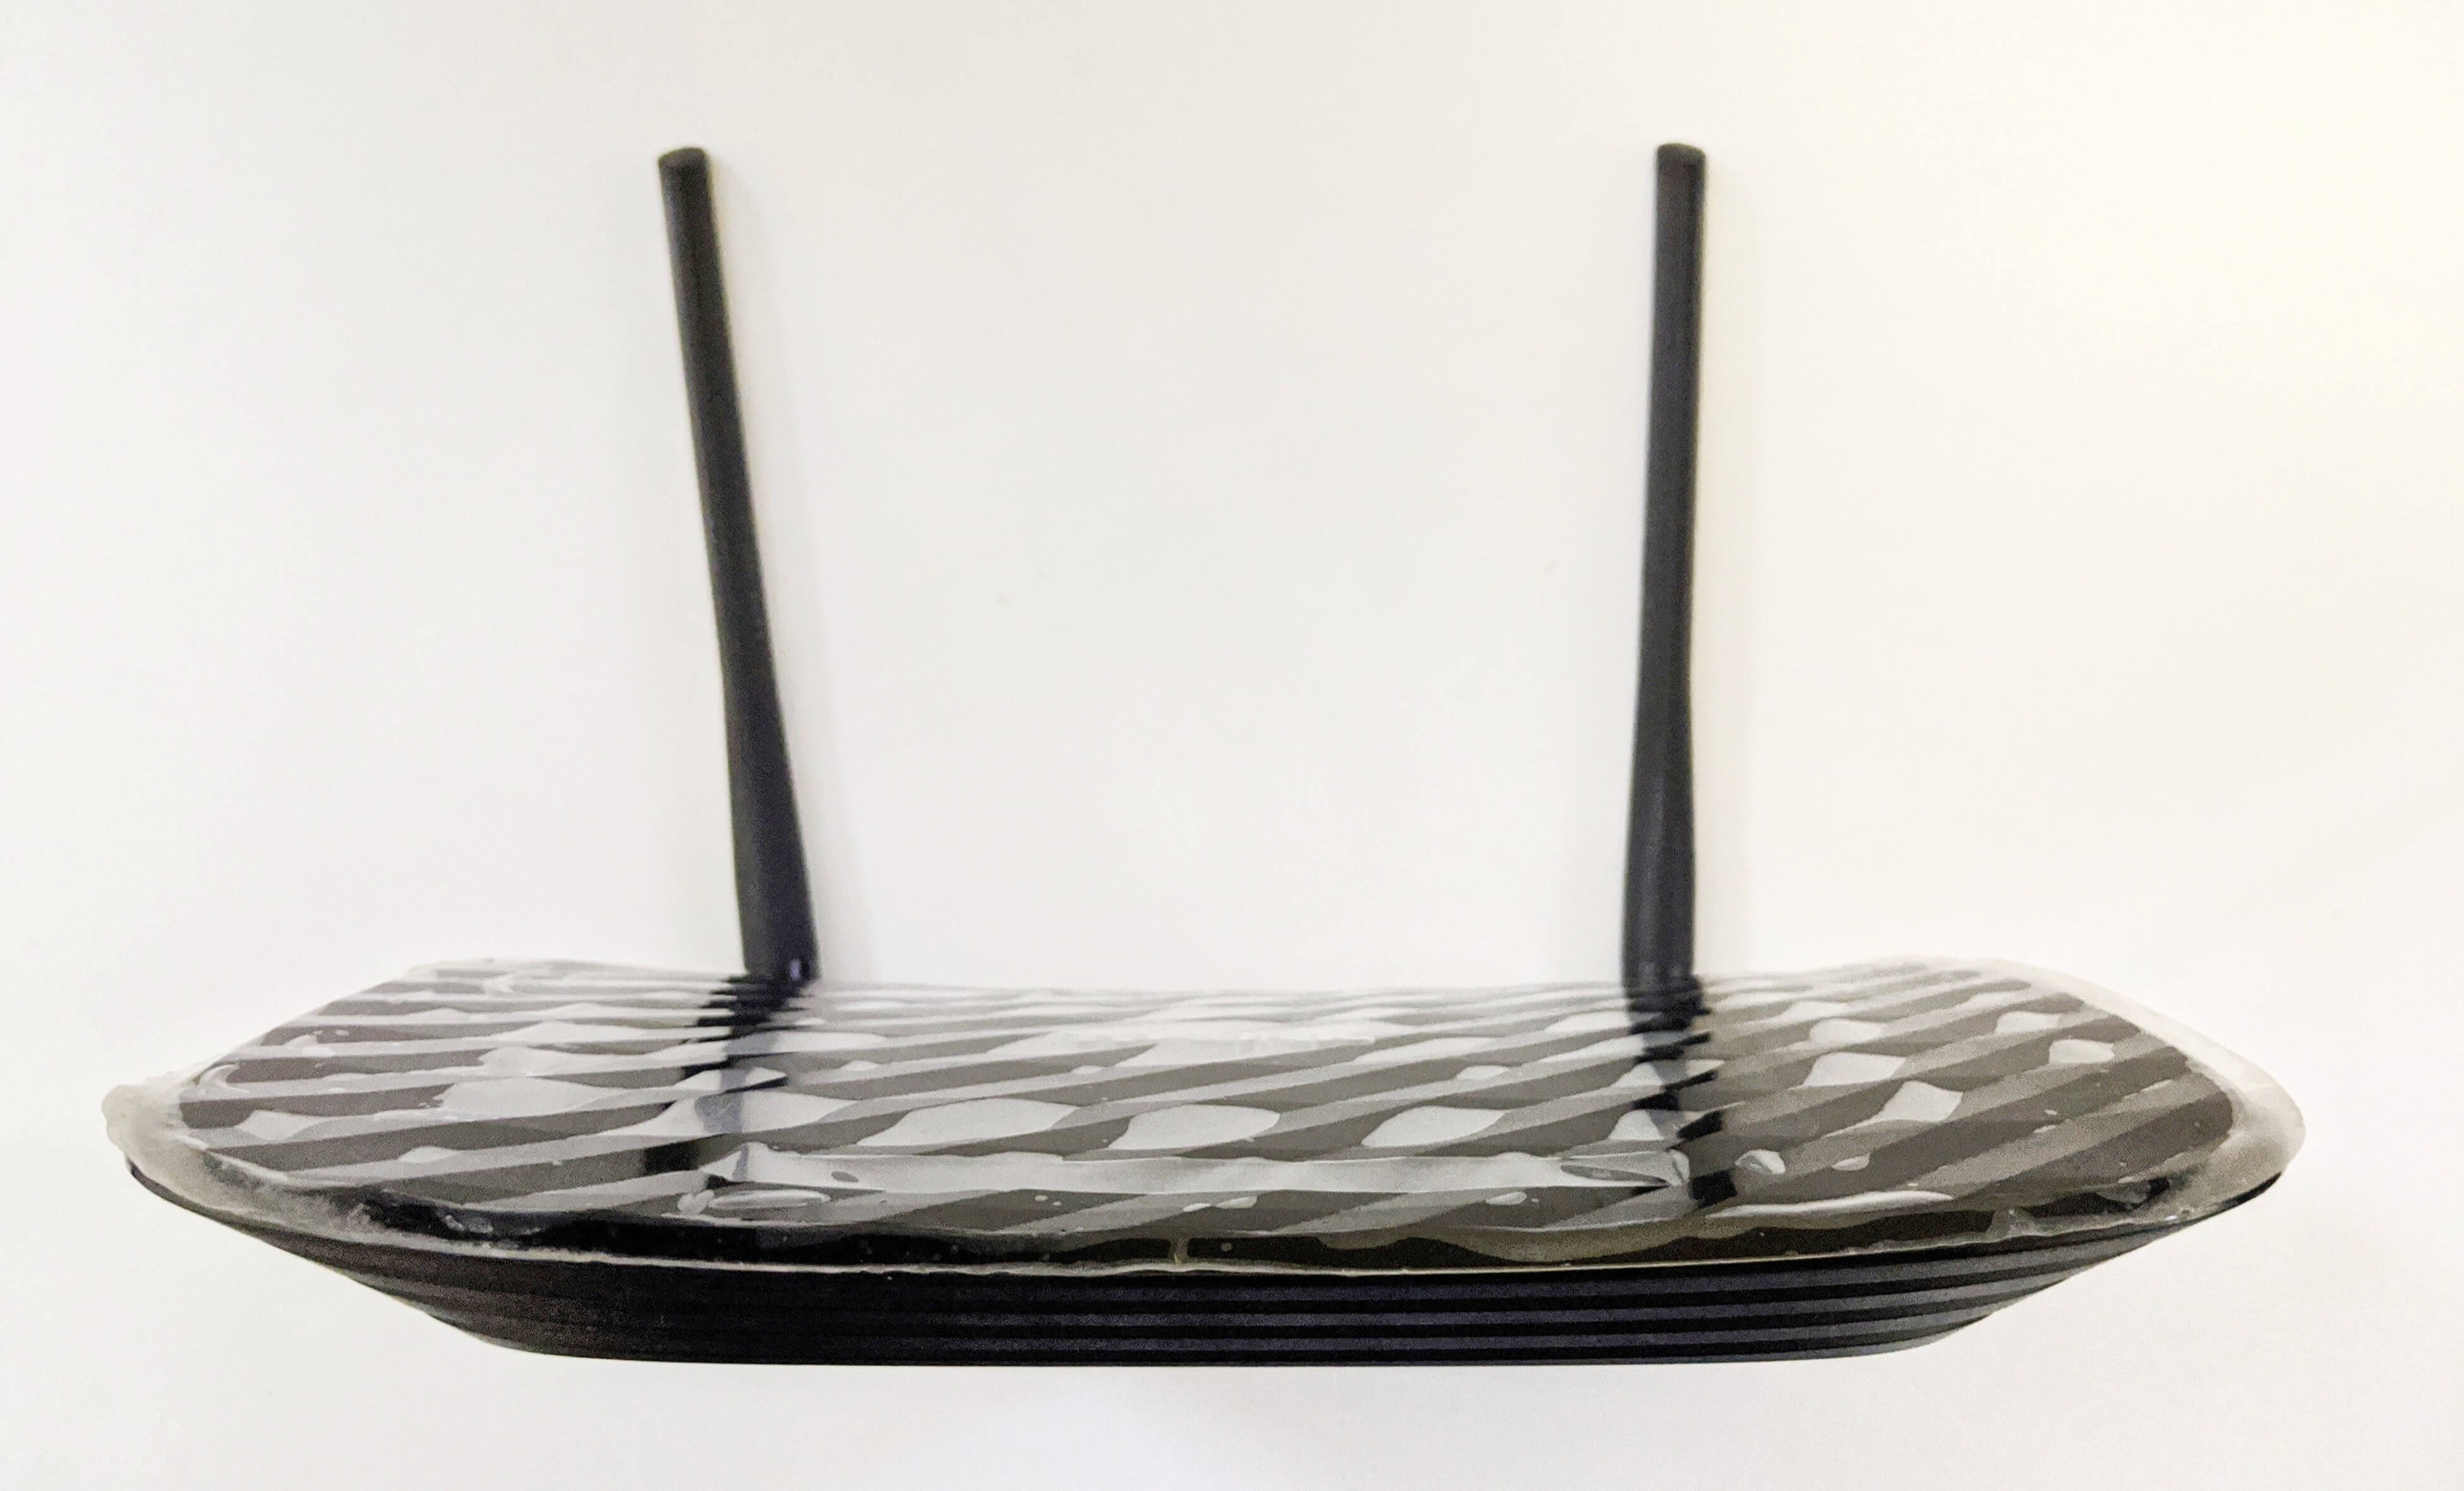
Since the introduction of a new router to our home premises the previous one was lying around unused - it is TP-Link Archer C2 AC750 Wireless Dual Band Gigabit Router. I changed it to run as a Repeater, so that it can strengthen WiFi signal to the weak spots; Here is a note on how to do that.
TLDR: Since Archer C2 was running as a router earlier, I did a factory reset first. Then configured it in bridge mode connecting to the existing WiFi network and disabled DHCP mode.
Steps to configure Archer C2 to run as a Repeater
1. Hard reset router to factory default settings
Click on WPS/Reset button for about 10 seconds until the top panel LEDs flash. Then release the button and wait the for the router to reboot.

2. Access Router’s web interface
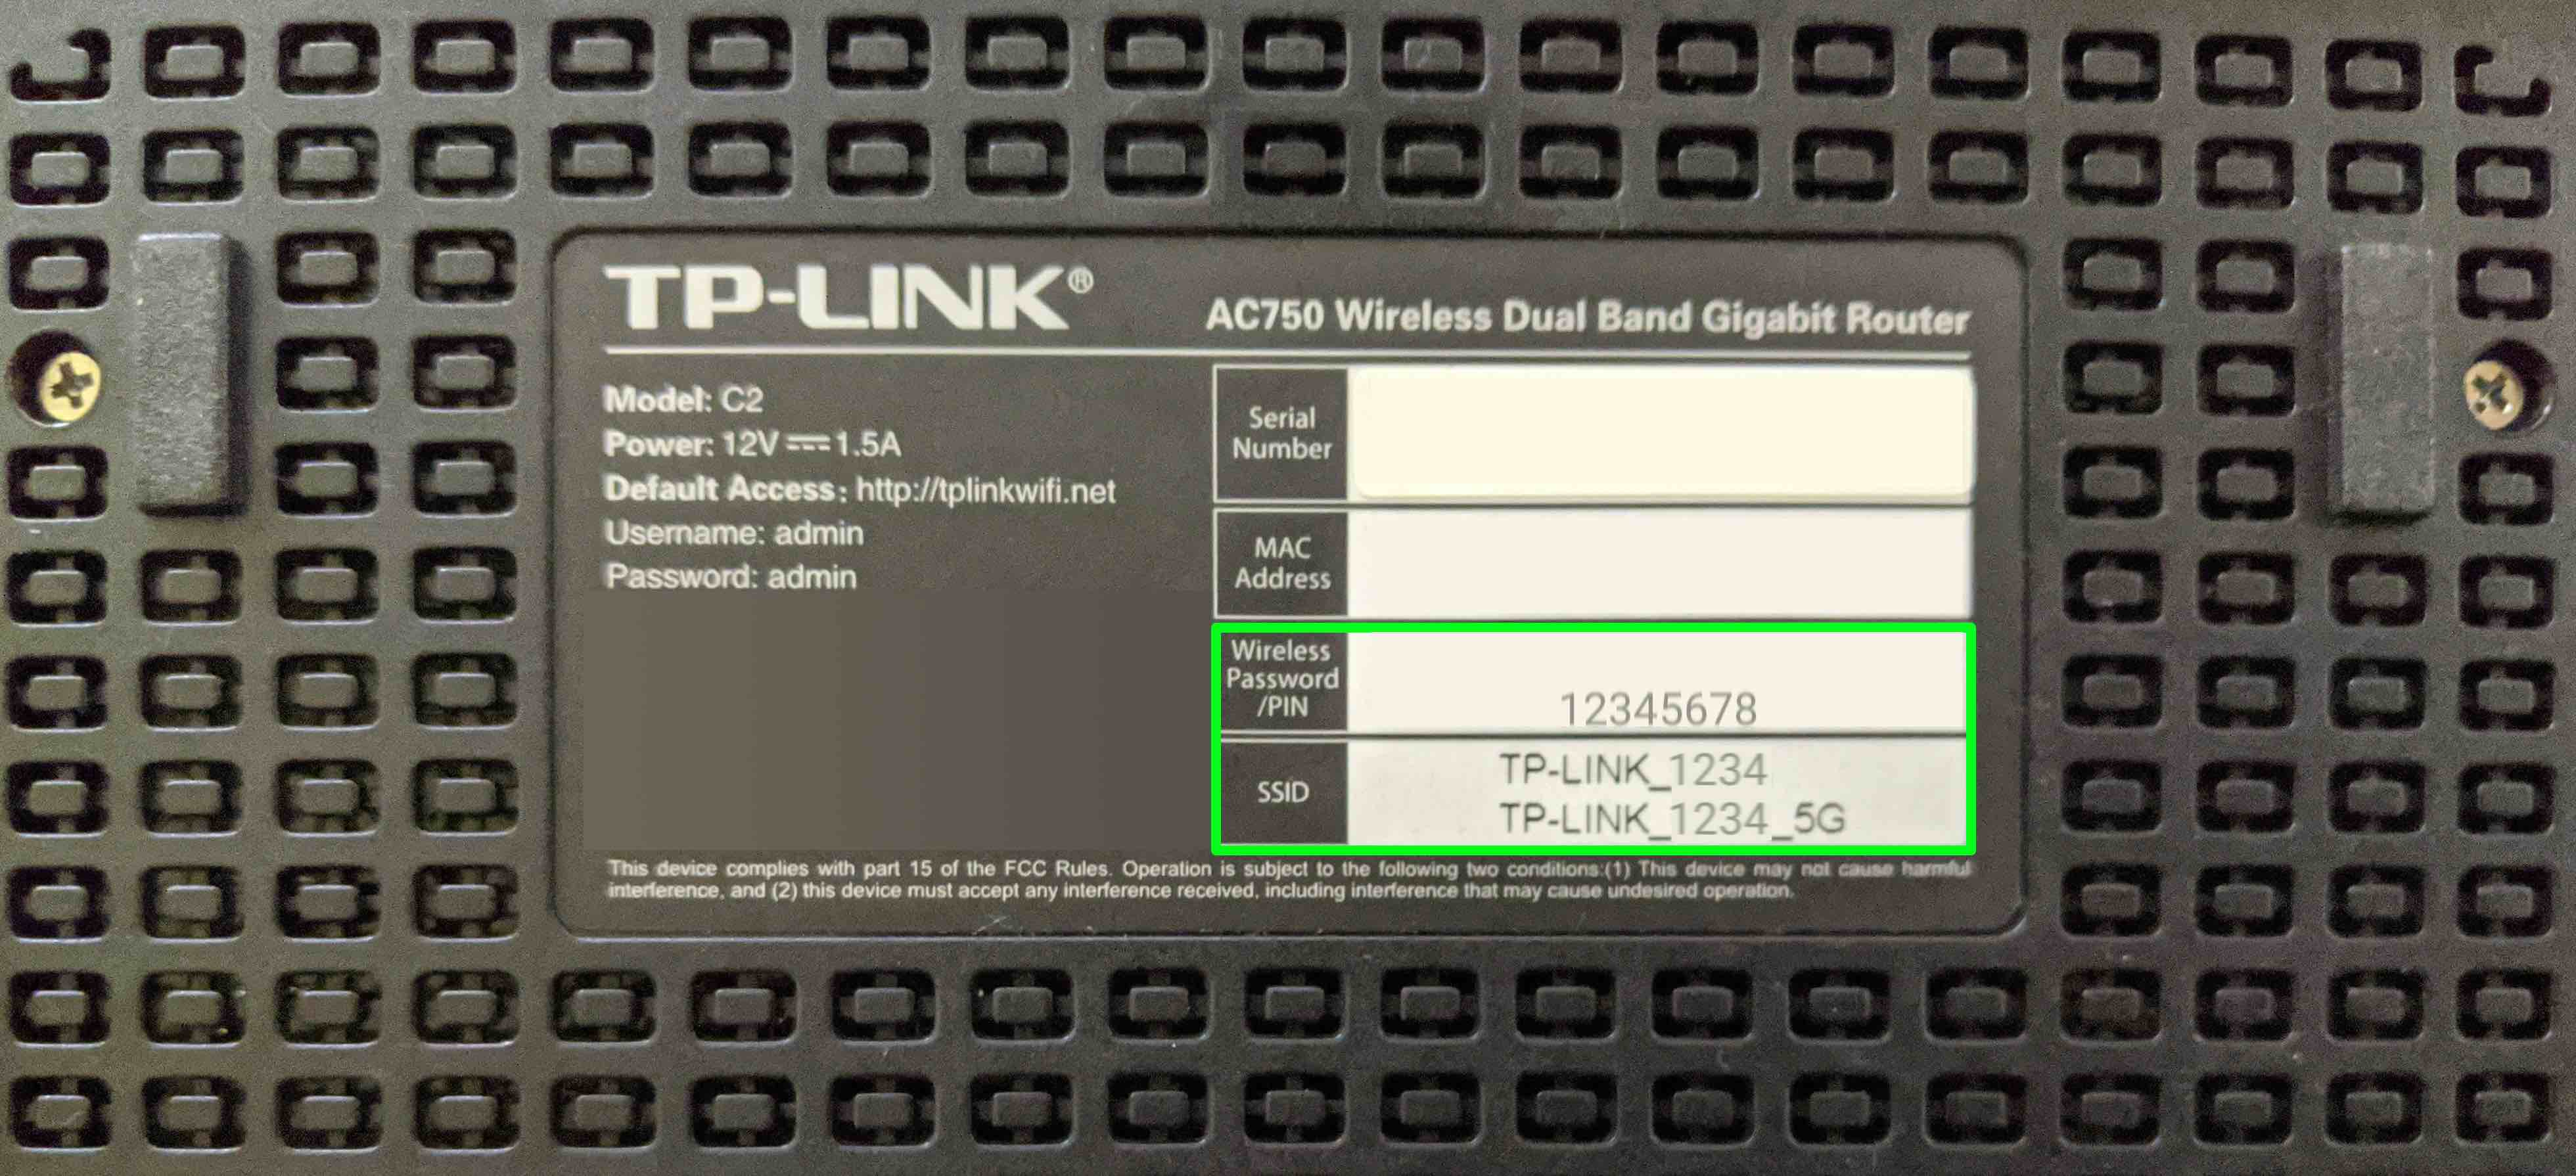
Once the router reboots you would be able to see C2’s network (TP-LINK_XXXX format) in wireless networks list. SSID of the network along with Password/PIN is printed on the bottom panel of the router. Establish a connection with the new network and login to http://tplinkwifi.net with admin:admin as credentials.
3. Change IP address in LAN settings
From Network > LAN > LAN Settings, change IP Address from 192.168.0.1 to 192.168.0.2. It does a router auto reboot on save.
Assuming the network you want to connect to has IP address range192.168.0.x, so this IP address value can takexranging from2-254. Make sure this IP doesn't collide with existing manual DHCP list in your router settings
After reboot, the TP-Link admin panel would be available at http://192.168.0.2
4. Enable WDS bridging
WDS (Wireless Distribution System) is a system that enables the wireless interconnection of access points in a wireless network. Navigate to Wireless 2.4GHz > Basic Settings and check enable WDS, this will display more settings below the option.
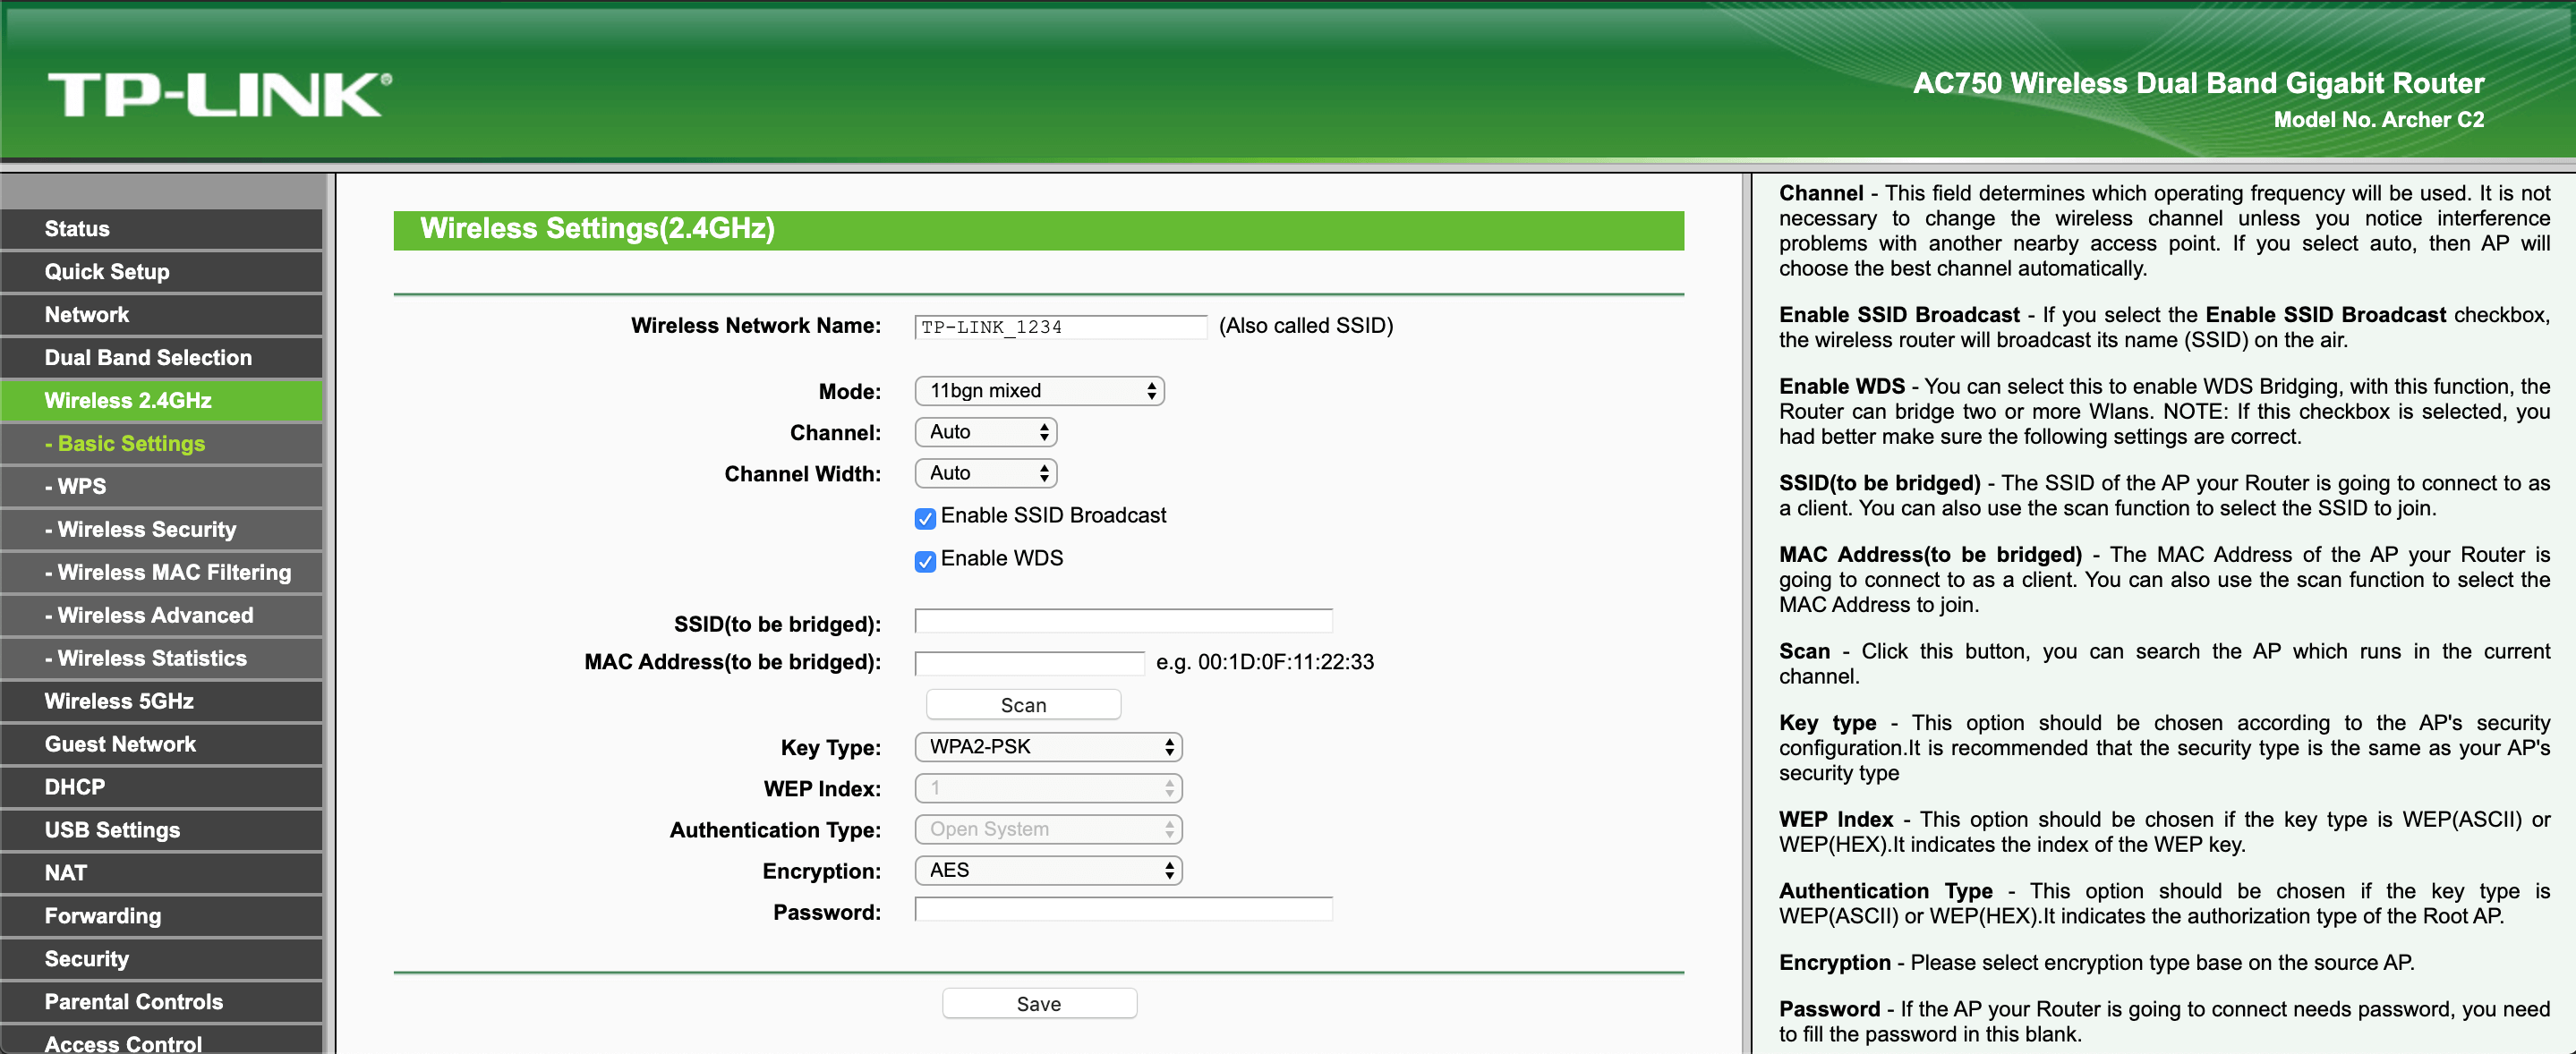
Clicking on scan button will list APs within the area. Connect to your router’s network which would autofill WDS SSID & MAC address; set the Channel to be same as the chosen WiFi network and also enter the Password. (Repeat the same process for Wireless 5GHz as well)
5. Disable DHCP
Go to the page DHCP > DHCP Settings and select disable for DHCP Server.
(Optionally, You can also change repeater’s SSID:password to be same as the router’s WiFi)
That’s all! Archer C2 has been switched from router to repeater mode 📶