I have started using Raspberry Pi today, and I can’t control myself from saying that it is AWESOME!
RPi has got a ARM1176JZF-S 700 MHz processor with 512MB RAM. I have attached a 8GB class 10 SD card to it.
Setting up RPi in Windows 7
-
Preparing SD Card:
- Download the SD Formatting Tool from https://www.sdcard.org/downloads/formatter_4/eula_windows/
- install and run
- select SD card drive, from ‘options’ set “FORMAT SIZE ADJUSTMENT” to ON
- format
-
Download OS:
- There are many distros available, I used Raspbian http://downloads.raspberrypi.org/raspbian_latest
-
Burn OS image to SD card:
- Download and install Win32DiskImager
- Select Raspbian image file and write it to SD Card
-
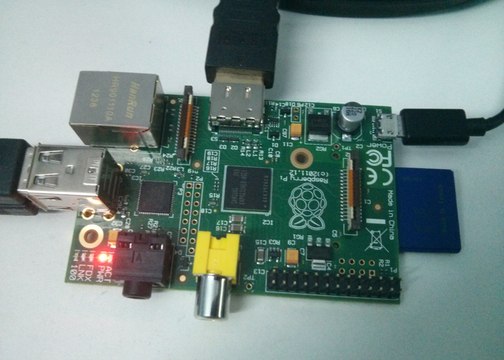
Setting up connections:
- Inserd SD card to RPi
- Power up board using micro USB cable
- Connect it to a monitor using HDMI cable
- Connect keyboard and mouse via USB
-
Boot from RPi You can customize different options on booting process such as ‘Change Password’, ‘Enable SSH’, etc. Note that the default user/password is
pi/raspberry.
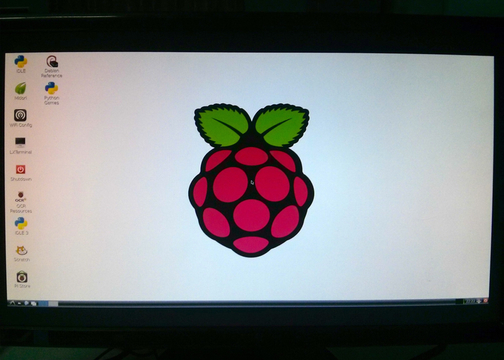
Thats all! Raspbian has booted up running on RPi!
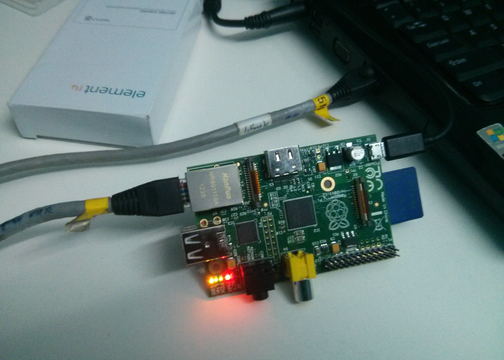
SSHing to RPi:
I have connected a ethernet cable from laptop to RPi. Laptop have WiFi access, which has to be shared to LAN. So, on start button, search for ‘View network connections’, from the opened window right click on ‘Wireless Network Connection’ and choose ‘properties’. Goto ‘sharing’ tab and check ‘Allow other network users to connect through this computer’s internet connection’ along with selecting Home networking connection as ‘Local Area Connection’. Now the RPi has got LAN Access.
To get IP address of RPi, you can either get LAN IP from
ipconfig
and run a ping scan with command
FOR /L %i IN (i,i,254) DO ping -n 1 192.168.1.%i `<br>`| FIND /i "Reply">> c:\lanipaddresses.txt
where 192.168.1.%i is replaced with LAN’s IP;
or try command
arp -a
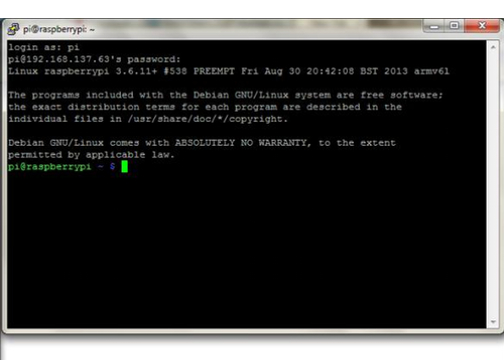
Once the IP of RPi is known, you can SSH using Putty.
Troubleshooting
If the monitor shows ‘No Signal’ even after its connected to RPi with bootable SD card, then the problem may be because RPi deliver weak HDMI signals than it required to function. Using a short HDMI cable can solve problem. Also, making the following changes to config.txt in SD card can help:
hdmi_force_hotplug=1
–> makes sure the Pi believes the monitor/TV is really there
config_hdmi_boost=4
–> or even higher (up to 9) if your display needs a stronger signal
hdmi_group=1
–> if the display is a computer monitor,
hdmi_group=2
–> if it is a TV